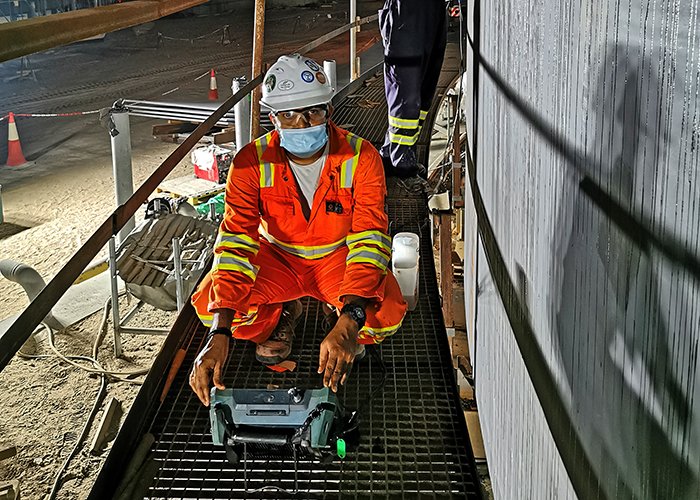
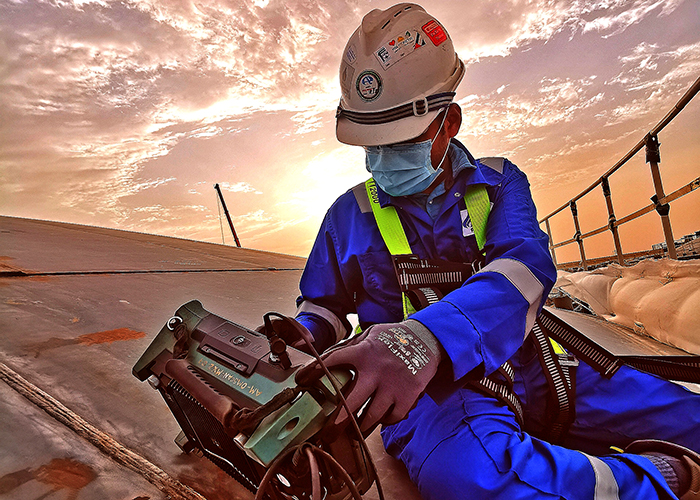
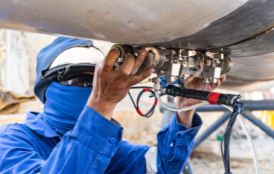
Phased Array Ultrasonic Testing (PAUT) is an Advanced NDT technique that employs a set of ultrasonic testing (UT) probes comprised of small conventional transducer elements. Each transducer can be pulsed individually with computer-calculated phasing
The demands for reliable in-service inspection are on the rise without going for shutdown to cut huge cost involved. To apply fitness-for-service calculation the inspectors require the remaining wall thickness and defect characterization to study criticality and the remaining life estimation of the vessel. Modern fracture mechanics engineering requires classification of defects either surface or subsurface, length as well as the height of the defects to analyze its criticality for acceptance or rejection criteria to apply.
Normally conventional NDT techniques like UTG, Radiographic testing were utilized during shutdown but there are many disadvantages associated with such methods.
LIMITATIONS OF RADIOGRAPHY
The new advanced technologies like Phased array ultrasonic testing (PAUT) and time of flight diffraction (TOFD) With add on accessories even high temperature inspection up to 350oC is now feasible. The results obtained are highly reliable and repeatable. Accuracy in terms of defect length, height sizing makes fracture mechanics analysis possible. With data encoding, digitization and storage of the data is possible for post analysis similar to radiographs..
- Mainly the ionizing radiations are hazardous and requires evacuation of the area increasing shutdown downtime as other activities are not possible.
- Access to both sides of the vessel required for source and film placement, increasing the overall cost for removal of insulation from outside and refractories from inside.
- Scaffolding needed for access to all areas for placement of films, source etc.
- The probability of detection of planar defects like Lack of fusion, cracks are poor unless the defect planes are oriented parallel to the radiation beam and
- In RT estimation of the actual defect height or depth is not possible. This adversely has effect on the repair plans.
- Heavy wall pressure vessel above 60mm thickness involves use of Cobalt 60, thus compounding the safety issues and reducing the detection capability.
PHASED ARRAY ULTRASONIC TESTING
Phased Array (PA) transducers can be thought of a multiple small conventional transducer elements housed in a single unit. Each transducer can be pulsed individually and by varying time between pulses from the elements such that constructive interference of the individual waves can occur, the desired angle and focus is achieved.
- Ability to sweep sound beam through a range of angles without moving the probe, normally 40 to 70 degrees.
- Ability of interrogating defect with different angles increases the probability of detection
(POD) of defects regardless of their orientation.
- Ability to increase the number of elements used, thus increasing sensitivity by reducing.
- Spread and sharpening the focus.
- High inspection speeds over conventional UT employing raster scanning.
- Accuracy in defect plotting, gives precise readings for depth, defect orientation.
- Multiple view formats like S- Scan, C- Scan, B-Scan possible.
- Increased signal to noise ratio using focused beams
- Inspection of coarse-grained welds like DDS, Inconel, SS are possible with Dual Matric Array probes.
- Pipe diameter starting 0.84 inch and upwards can be inspected with cobra scanners. Thickness range 4.5mm and above can be inspected without difficulties.
- Phased array instruments 10 times more expensive than conventional UT flaw detectors.
- Requires trained operators with computer, data analysis, and ultrasonic skills.
- Special software is required for Data Analysis
- Phased array pipe inspection: Lower Dia and Lower thickness pipes such as Boiler pipe and tubes starting from 0.84-inch diameter upwards with thickness as low as 4.5mm and above can be successfully inspected with our cobra scanners from Olympus.
- Due to its small size the clearance between adjacent pipes or other obstructions may be as low as 12 mm.
- The ability to steer multiple angles with focused beam increase the probability of detection of in-service cracks, HTHA, stress corrosion cracks, thermal and narrow fatigue cracks.
- Coarse grained materials like austenitic stainless steel, Inconel welds can be inspected with the Dual Matrix Array probes for stress corrosion cracking.
- The hydro form corrosion mapping can detect corrosion and wall thickness loss on pipelines (6-inch and above), vessels up to 0.5 mm and display images in C Scan, B Scan, S- scan view making interpretation and visualization easier..
- With our eclipse scientific ‘TempMaster’ wedges Phased Array Ultrasonic Testing (PAUT) is now possible to operate in the demanding inspection environments up to 350°C, the automated solution scanner kit incorporates the TempMaster wedge kit for both corrosion mapping and weld inspection. The durable design allows for extended periods of exposure at 350°C while limiting the operator’s exposure to harsh environments increasing safety, scan quality and repeatability..
Time of Flight Diffraction (TOFD) - NDT for weld inspection
